Click for large image

1_The_Dartford_Faithful.jpg

1 The Dartford Faithful.jpg

Click for large image

2__Injury_List_grows.jpg

2 Injury List grows.jpg

Click for large image

3_Billericay_Faithful.jpg

3 Billericay Faithful.jpg

Click for large image

4_Lee_hits_the_freekick......jpg

4 Lee hits the freekick......jpg

Click for large image

5_.....the_wall_doesn_t_do_a_lot.....jpg

5 .....the wall doesn't do a lot.....jpg

Click for large image

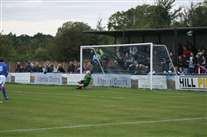
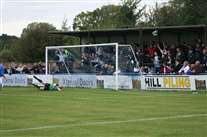
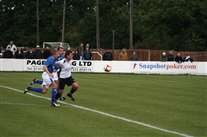
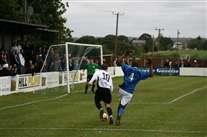
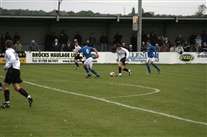
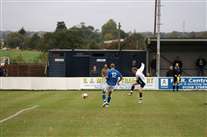
6_....the_keeper_dives_but_cannot_get_there_1-0.jpg

6 ....the keeper dives but cannot get there 1-0.jpg

Click for large image

7_...and_the_crowd_goes_wild.jpg

7 ...and the crowd goes wild.jpg

Click for large image

8_Steve_is_still_savouring_his_burger.jpg

8 Steve is still savouring his burger.jpg

Click for large image

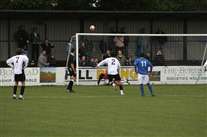
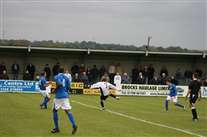
9_Lee_tries_to_chip_it_in_but_it_s_just_over.jpg

9 Lee tries to chip it in but it's just over.jpg

Click for large image

10_Butters_gets_free_in_the_corner_.....jpg

10 Butters gets free in the corner .....jpg

Click for large image

11_....turns_his_man.....jpg

11 ....turns his man.....jpg

Click for large image

12_...and_gets_the_ball_in_for_Brendon...jpg

12 ...and gets the ball in for Brendon...jpg

Click for large image

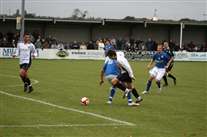
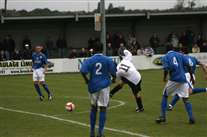
13_....but_the_defender_does_enough_to_put_Brendon_off.jpg

13 ....but the defender does enough to put Brendon off.jpg

Click for large image

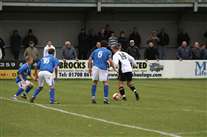
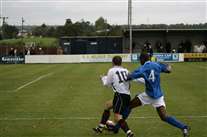
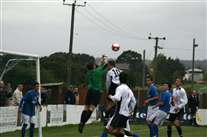
14_Razor_tries_to_get_there_before_the_defender.jpg

14 Razor tries to get there before the defender.jpg

Click for large image

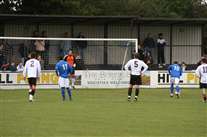
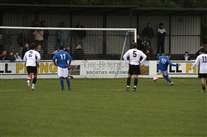
15_Andrew_readies_himself_for_the_penalty.....jpg

15 Andrew readies himself for the penalty.....jpg

Click for large image

16_...the_ball_is_hit.....jpg

16 ...the ball is hit.....jpg

Click for large image

17_..and_it_s_saved....jpg

17 ..and it's saved....jpg

Click for large image

18_..Jamie_runs_in_to_clear_the_ball.jpg

18 ..Jamie runs in to clear the ball.jpg

Click for large image

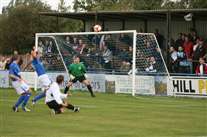
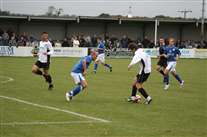
19_Lee_shoots_from_among_the_crowd_but_the_keeper_gets_it.jpg

19 Lee shoots from among the crowd but the keeper gets it.jpg

Click for large image

20_Razor_gives_the_defender_a_hard_time....jpg

20 Razor gives the defender a hard time....jpg

Click for large image

21_...gets_past_him.....jpg

21 ...gets past him.....jpg

Click for large image

22_...pulls_the_ball_back_for_Daffy....jpg

22 ...pulls the ball back for Daffy....jpg

Click for large image

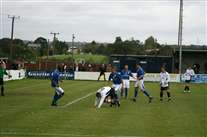
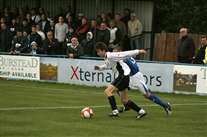
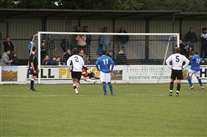
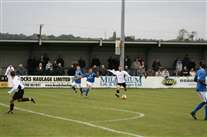
23_..but_the_defender_manages_to_get_Daffy_to_fall_over.jpg

23 ..but the defender manages to get Daffy to fall over.jpg

Click for large image

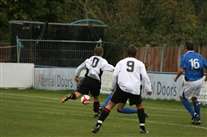
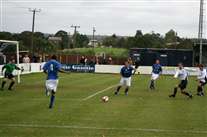
24_Scouser_gets_into_position_to_let_one_fly.jpg

24 Scouser gets into position to let one fly.jpg

Click for large image

25_Butters_just_cannot_get_over_the_ball.jpg

25 Butters just cannot get over the ball.jpg

Click for large image

26_The_keeper_punches_clear_off_the_top_of_Razors_head.jpg

26 The keeper punches clear off the top of Razors head.jpg

Click for large image

27_Ryno_tries_one_from_distance_and_forces_the_keeper_to_a_full_length_save.jpg

27 Ryno tries one from distance and forces the keeper to a full length save.jpg

Click for large image

28_Jamie_D_gets_to_have_a_go_but_the_keeper_is_there.jpg

28 Jamie D gets to have a go but the keeper is there.jpg

Click for large image

29_In_the_dying_minutes_Butters_mesmerises_the_defender_......jpg

29 In the dying minutes Butters mesmerises the defender ......jpg

Click for large image

30_....and_then_goes_past_him.jpg

30 ....and then goes past him.jpg

Click for large image

31_It_takes_3_to_keep_Ryno_at_bay.jpg

31 It takes 3 to keep Ryno at bay.jpg