Click for large image

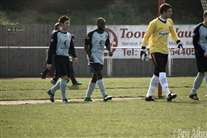
1_The_2_new_guys_together__Craig_and_Bradley.jpg

1 The 2 new guys together, Craig and Bradley.jpg

Click for large image

2_Adam_gets_his_long_thow-in_going.jpg

2 Adam gets his long thow-in going.jpg

Click for large image

3_The_Urchins_keeper_gets_there_first.jpg

3 The Urchins keeper gets there first.jpg

Click for large image

4_Jamie_Coyle_watches_the_ball_before_clearing_it.jpg

4 Jamie Coyle watches the ball before clearing it.jpg

Click for large image

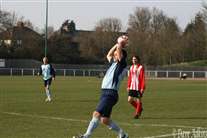
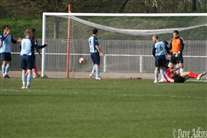
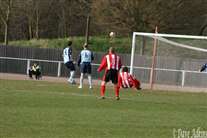
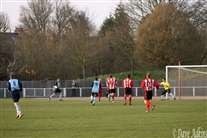
5_There_s_no_room_for_misjudgement_from_John_Guest.jpg

5 There's no room for misjudgement from John Guest.jpg

Click for large image

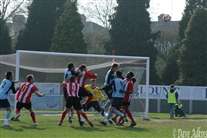
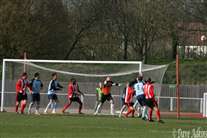
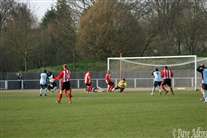
6_Rob_out_climbs_Adam_Flanagan_for_the_defensive_header.........jpg

6 Rob out climbs Adam Flanagan for the defensive header.........jpg

Click for large image

7_...but_the_ball_goes_back_across_the_area.......jpg

7 ...but the ball goes back across the area.......jpg

Click for large image

8_...where_2_Urchins_are_waiting......jpg

8 ...where 2 Urchins are waiting......jpg

Click for large image

9_...Andrew_has_no_chance_1-0_Hornchurch.jpg

9 ...Andrew has no chance 1-0 Hornchurch.jpg

Click for large image

10_Rob_and_Jamie_Day_s_body_language_says_it_all.jpg

10 Rob and Jamie Day's body language says it all.jpg

Click for large image

11_Bradley_receives_Jamie_Coyles_ball......jpg

11 Bradley receives Jamie Coyles ball......jpg

Click for large image

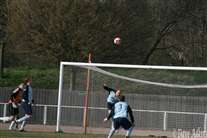
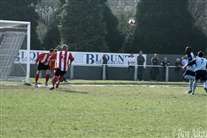
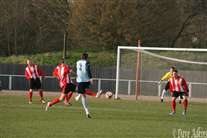
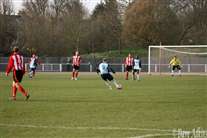
12_...forcing_a_save_fromt_he_Urchins_keeper.....jpg

12 ...forcing a save fromt he Urchins keeper.....jpg

Click for large image

13_Tommy_heads_clear_off_the_line.jpg

13 Tommy heads clear off the line.jpg

Click for large image

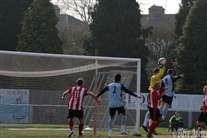
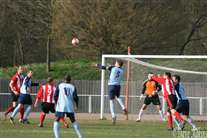
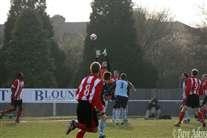
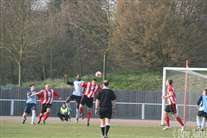
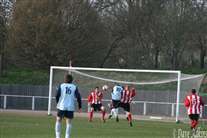
14_The_ball_comes_in_as_Adam_Flanagan_and_John_Guest_jump_for_it.......jpg

14 The ball comes in as Adam Flanagan and John Guest jump for it.......jpg

Click for large image

15_...the_ball_falls_to_Bradley.......jpg

15 ...the ball falls to Bradley.......jpg

Click for large image

16_...but_he_mis-kicks.jpg

16 ...but he mis-kicks.jpg

Click for large image

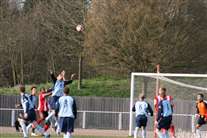
17_Andrew__hidden_by_the_No_10__pushes_the_ball_wide.jpg

17 Andrew (hidden by the No 10) pushes the ball wide.jpg

Click for large image

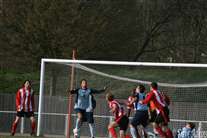
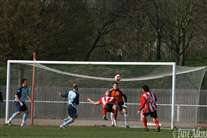
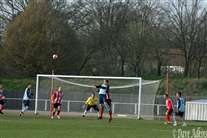
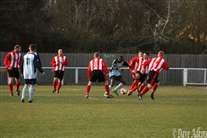
18_I_m_not_certain_who_got_there_first_either_Tommy_s_head_or_Andy_s_fist_but_it_s_cleared.jpg

18 I'm not certain who got there first either Tommy's head or Andy's fist but it's cleared.jpg

Click for large image

19_Tommy_watches_the_ball_come_in......jpg

19 Tommy watches the ball come in......jpg

Click for large image

20_...cuts_it_out_and_clears_it.jpg

20 ...cuts it out and clears it.jpg

Click for large image

21_Sony_ready_to_film_the_2nd_half.jpg

21 Sony ready to film the 2nd half.jpg

Click for large image

22_Jamie_Coyle_races_Rob_s_pass......jpg

22 Jamie Coyle races Rob's pass......jpg

Click for large image

23_...and_hits_it.....jpg

23 ...and hits it.....jpg

Click for large image

24_....but_it_s_over_the_bar.jpg

24 ....but it's over the bar.jpg

Click for large image

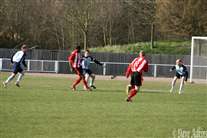
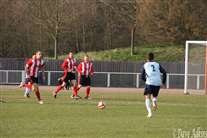
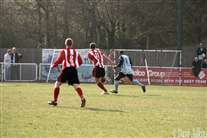
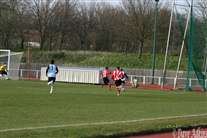
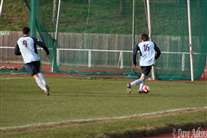
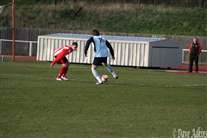
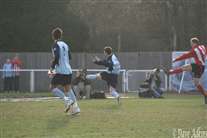
25_Bradley_shows_his_speed_to_get_to_the_ball.......jpg

25 Bradley shows his speed to get to the ball.......jpg

Click for large image

26_...turns__but_the_cross_is_blocked.jpg

26 ...turns, but the cross is blocked.jpg

Click for large image

27_John_gets_his_head_to_the_ball.......jpg

27 John gets his head to the ball.......jpg

Click for large image

28_...and_it_s_Oh_so_close.jpg

28 ...and it's Oh so close.jpg

Click for large image

29_Andy_jumps_to_claim_the_ball.jpg

29 Andy jumps to claim the ball.jpg

Click for large image

30_Steve_Butterworth_on_as_substitute_gets_the_ball_out_wide.......jpg

30 Steve Butterworth on as substitute gets the ball out wide.......jpg

Click for large image

31_...beats_the_defender.....jpg

31 ...beats the defender.....jpg

Click for large image

32_...and_another_one......jpg

32 ...and another one......jpg

Click for large image

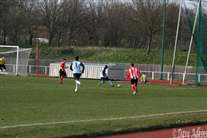
33_...passes_to_Jamie_Coyle___who_crosses.....jpg

33 ...passes to Jamie Coyle , who crosses.....jpg

Click for large image

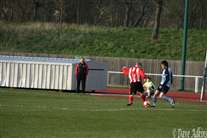
35_Steve_takes_on_the_defender_.....again....__2_.jpg

35 Steve takes on the defender .....again.... (2).jpg

Click for large image

35_Steve_takes_on_the_defender_.....again.....jpg

35 Steve takes on the defender .....again.....jpg

Click for large image

36_...and_beats_him...again.jpg

36 ...and beats him...again.jpg

Click for large image

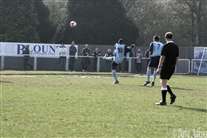
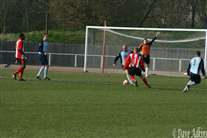
37_Jamie_Day_sends_the_ball_towards_Lee.....jpg

37 Jamie Day sends the ball towards Lee.....jpg

Click for large image

38_...Lee_you_should_ve_headed_that.....jpg

38 ...Lee you should've headed that.....jpg

Click for large image

39_...and_the_keeper_collects_it.jpg

39 ...and the keeper collects it.jpg

Click for large image

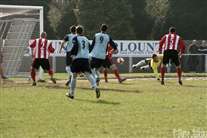
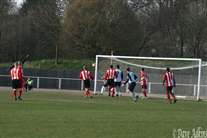
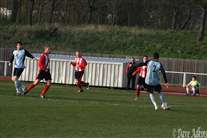
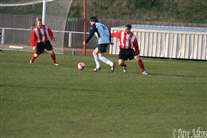
40_Count__em_5_Urchins_try_to_deny_Bradley_a_shot.jpg

40 Count 'em 5 Urchins try to deny Bradley a shot.jpg

Click for large image

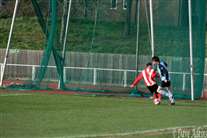
41_The_Urchin_boot_gets_there_before_Bradley.jpg

41 The Urchin boot gets there before Bradley.jpg

Click for large image

42_The_shot_is_taken......jpg

42 The shot is taken......jpg

Click for large image

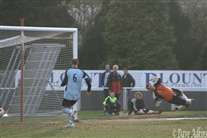
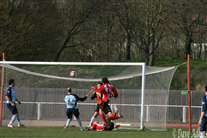
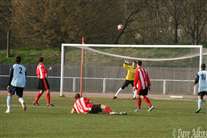
43_...Andy_dives_but_it_s_in_2-0_Hornchurch_time_to_go_home.jpg

43 ...Andy dives but it's in 2-0 Hornchurch time to go home.jpg