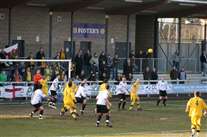
2_Danny_D_struggles_to_jump_amongst_3_Sutton_players.jpg
2 Danny D struggles to jump amongst 3 Sutton players.jpg
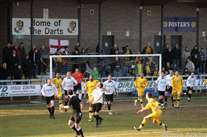
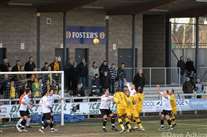
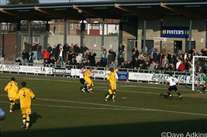
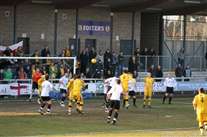
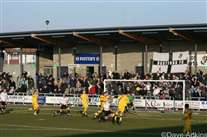
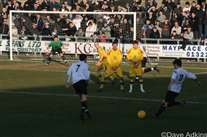
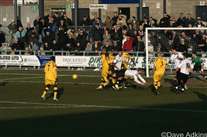
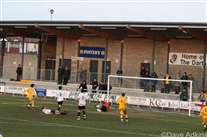
3_All_hands_to_the_pump__early_pressure_from_Sutton_and_9_Darts_in_the_picture.jpg
3 All hands to the pump, early pressure from Sutton and 9 Darts in the picture.jpg
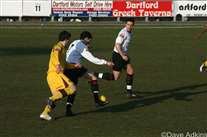
4_Danny_H_shows_great_control_under_pressure.jpg
4 Danny H shows great control under pressure.jpg
5_Same_position__same_shirt_but_it_s_NOT_Ryno_it_s_Danny_H.jpg
5 Same position, same shirt but it's NOT Ryno it's Danny H.jpg
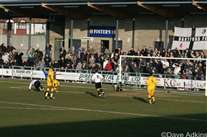
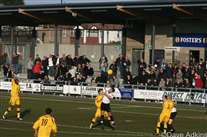
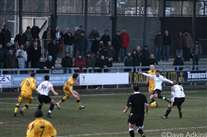
6_Rob_gets_to_the_ball_before_the_Sutton_defender.....jpg
6 Rob gets to the ball before the Sutton defender.....jpg
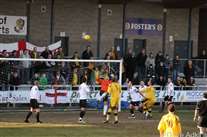
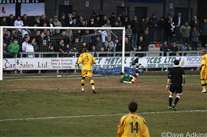
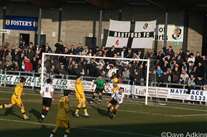
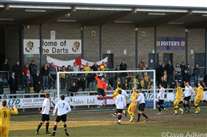
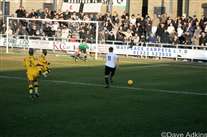
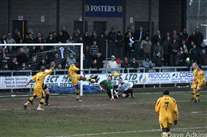
9_..with_Dafter_backing_him_up_on_the_line__Andy_palms_it_over_the_bar.jpg
9 ..with Dafter backing him up on the line, Andy palms it over the bar.jpg
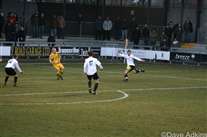
10_Rob_and_Danny_D_race_to_get_to_the_ball......jpg
10 Rob and Danny D race to get to the ball......jpg
11_...the_Sutton_player_gets_the_header_in_but_it_s_wide.jpg
11 ...the Sutton player gets the header in but it's wide.jpg
12_Lee_B_gets_his_head_to_the_ball_as_Danny_H_waits_.......jpg
12 Lee B gets his head to the ball as Danny H waits .......jpg
13_..the_bounce_is_unkind_for_Danny_H_and_the_Sutton_player_gets_there_first.jpg
13 ..the bounce is unkind for Danny H and the Sutton player gets there first.jpg
17_Billy_B_is_sent_sprawling_in_the_Sutton_area.jpg
17 Billy B is sent sprawling in the Sutton area.jpg
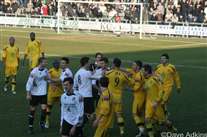
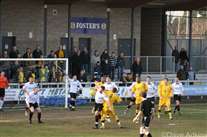
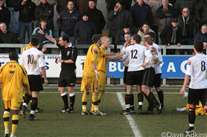
18_As_early_as_the_20th_minute_it_was_obvious_it_was_going_to_be_an_ill-tempered_match.jpg
18 As early as the 20th minute it was obvious it was going to be an ill-tempered match.jpg
19_Elliot_sends_the_ball_low_across_the_area......jpg
19 Elliot sends the ball low across the area......jpg
20_...Once_again_Billy_is_sent_sprawling_in_the_area.jpg
20 ...Once again Billy is sent sprawling in the area.jpg
21_More_proof_that_the_referee_had_lost_total_control_of_the_game.jpg
21 More proof that the referee had lost total control of the game.jpg

22_The_Keeper_does_well_to_catch_the_ball_under_pressure_from_Lee_B.jpg
22 The Keeper does well to catch the ball under pressure from Lee B.jpg

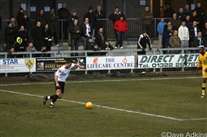
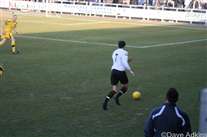
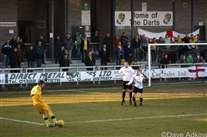
27_Ryno_on_as_sub__shoots_and_forces_the_keeper_to_make_a_great_save.jpg
27 Ryno on as sub, shoots and forces the keeper to make a great save.jpg
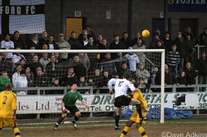
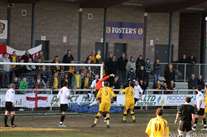
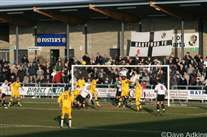
29_Carl_Rook_sees_his_header_go_over_the_bar.jpg
29 Carl Rook sees his header go over the bar.jpg