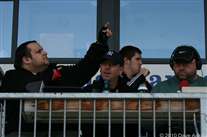
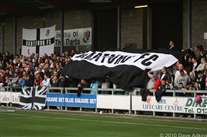
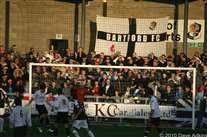
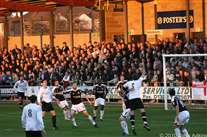
1_The_Media_team_were_there_bright_and_early_to_ensure_their_place.jpg
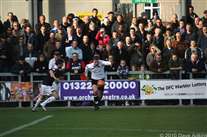
1 The Media team were there bright and early to ensure their place.jpg
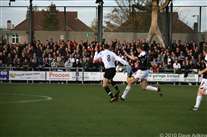
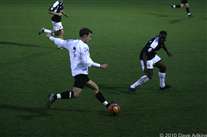
8_Danny_H_manages_top_get_a_boot_in_before_the_PV_player.......jpg
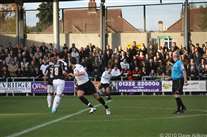
8 Danny H manages top get a boot in before the PV player.......jpg
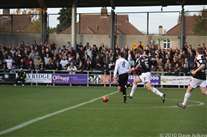
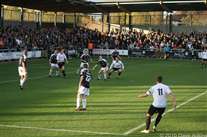
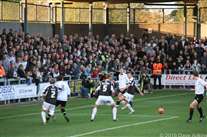
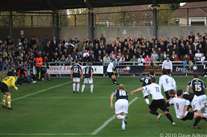
9_...and_comes_away_with_the_ball_but_cannot_get_enough_power_on_the_shot......jpg
9 ...and comes away with the ball but cannot get enough power on the shot......jpg
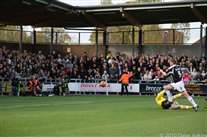
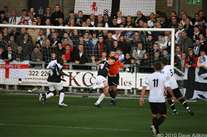
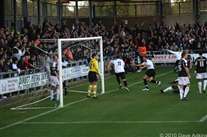
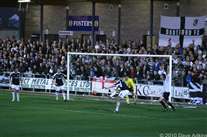
10_...the_keeper_manages_to_get_something_on_it__but_it_s_still_goalbound.....jpg
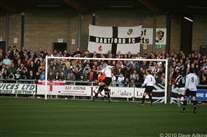
10 ...the keeper manages to get something on it, but it's still goalbound.....jpg
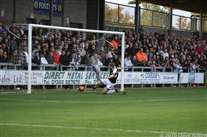
11_...but_the_PV_player_gets_there_just_in_time_to_clear.jpg
11 ...but the PV player gets there just in time to clear.jpg
15_Paul_Goodacre_makes_certain_the_corner_doesn_t_go_any_further.jpg
15 Paul Goodacre makes certain the corner doesn't go any further.jpg
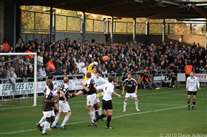
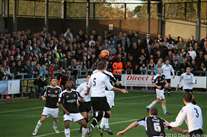
18_....and_the_PV_player_goes_full_length_to_head_clear.jpg
18 ....and the PV player goes full length to head clear.jpg
20_Lee_Burns_waits_to_try_and_flick_on_Elliot_s_ball_to_Carl.jpg
20 Lee Burns waits to try and flick on Elliot's ball to Carl.jpg
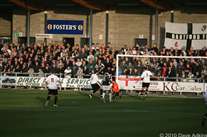
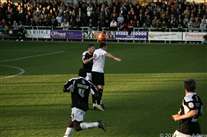
21_The_PV_keepers_fist_gets_to_the_ball_before_Danny_s_head.jpg
21 The PV keepers fist gets to the ball before Danny's head.jpg

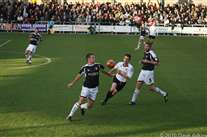
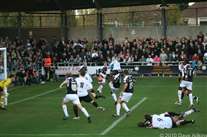
22_Andy_Young_gets_ready_to_cut_out_the_ball_as_the_PV_player_comes_in.....jpg
22 Andy Young gets ready to cut out the ball as the PV player comes in.....jpg
23_...and_succeeds_as_Tom_and_Paul_look_on_just_in_case.jpg
23 ...and succeeds as Tom and Paul look on just in case.jpg
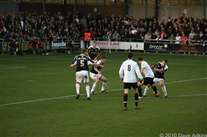
24_A_two-footed_lunge_by_the_PV_player_leads_to_some_disagreements......jpg
24 A two-footed lunge by the PV player leads to some disagreements......jpg
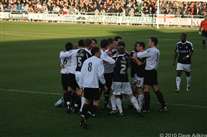
25_....which_involved_more_than_a_few_players.jpg
25 ....which involved more than a few players.jpg

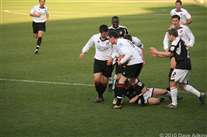
27_The_PV_players_head_gets_to_the_ball_first.jpg
27 The PV players head gets to the ball first.jpg
28_...and_it_falls_to_Lee_Burns_who_has_a_shot......jpg
28 ...and it falls to Lee Burns who has a shot......jpg
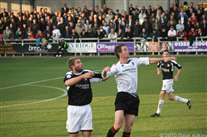
29_Elliot_gets_a_shove_in_the_back_but_the_officials_don_t_see_it.jpg
29 Elliot gets a shove in the back but the officials don't see it.jpg
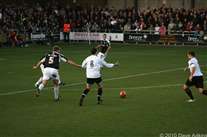
30_....and_pulling_the_ball_back_for_Carl......jpg
30 ....and pulling the ball back for Carl......jpg
31_...who_couldn_t_get_any_power_on_the_shot.....jpg
31 ...who couldn't get any power on the shot.....jpg
32_...and_the_looks_on_Danny_and_Ryno_s_faces_says_it_all.jpg
32 ...and the looks on Danny and Ryno's faces says it all.jpg
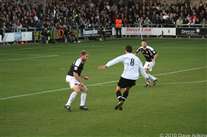
36_Danny_controls_the_ball_superbly_and_plays_it_across......jpg
36 Danny controls the ball superbly and plays it across......jpg
38_...but_the_PV_player_gets_in_the_timely_tackle.jpg
38 ...but the PV player gets in the timely tackle.jpg
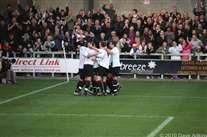
42_...and_that_is_soooooo_sweet_Non-league_Dartford_1_League_2_Port_Vale_0.jpg
42 ...and that is soooooo sweet Non-league Dartford 1 League 2 Port Vale 0.jpg
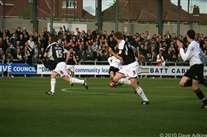
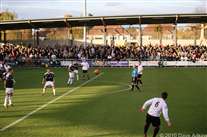
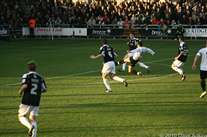
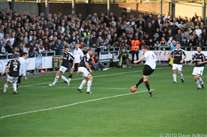
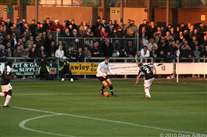
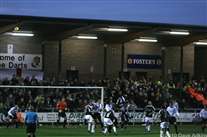
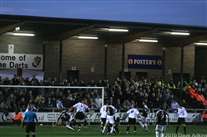
46_With_the_setting_sun_behind_them_the_Darts_press_for_a_second.jpg
46 With the setting sun behind them the Darts press for a second.jpg
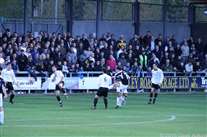
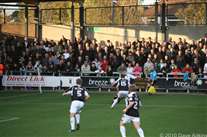
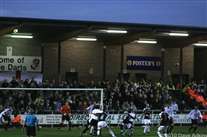
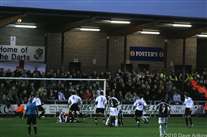
48_This_can_only_be_PV_s_3rd_or_so_shot_of_the_game_after_some_75_minutes.jpg
48 This can only be PV's 3rd or so shot of the game after some 75 minutes.jpg
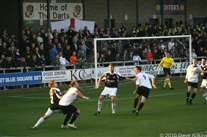
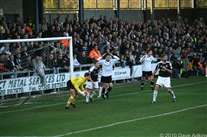
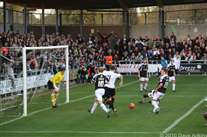
53_...a_PV_head_meets_it__with_Tom_s_shirt_being_held....jpg
53 ...a PV head meets it, with Tom's shirt being held....jpg
54_...the_shirt_holder_manages_to_get_a_foot_to_the_ball.....jpg
54 ...the shirt holder manages to get a foot to the ball.....jpg
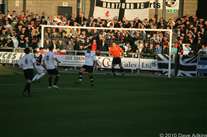
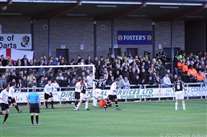
55_...Billy_s_on_the_line_but_he_can_t_stop_it__and_that_s_the_equaliser.jpg
55 ...Billy's on the line but he can't stop it, and that's the equaliser.jpg