Click for large image

1_The_Usual_Suspects.jpg

1 The Usual Suspects.jpg

Click for large image

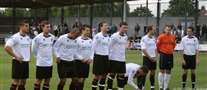
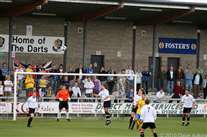
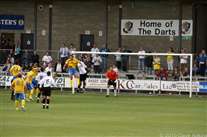
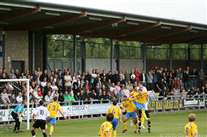
2_The_Officials_lead_the_teams_out_for_Dartford_s_2010_debut_in_Conference_South.jpg

2 The Officials lead the teams out for Dartford's 2010 debut in Conference South.jpg

Click for large image

3_An_early_chance_for_the_Darts.jpg

3 An early chance for the Darts.jpg

Click for large image

4_Billy_Burgess_crosses.jpg

4 Billy Burgess crosses.jpg

Click for large image

5_The_regulars.jpg

5 The regulars.jpg

Click for large image

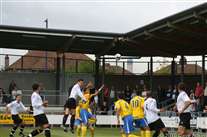
6_Ollie_Berquez_gets_ready__but_the_defender_gets_there_first.jpg

6 Ollie Berquez gets ready, but the defender gets there first.jpg

Click for large image

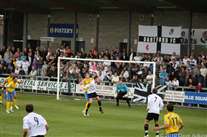
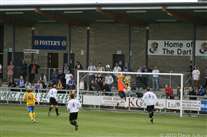
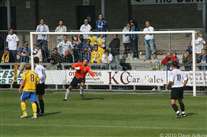
7_The_keeper_s_beaten_but_the_woodwork_saves_H_W.jpg

7 The keeper's beaten but the woodwork saves H&W.jpg

Click for large image

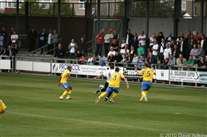
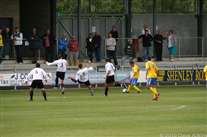
8_Ollie_races_clear_but_once_again_a_timely_challenge_from_the_defence_denies_him.jpg

8 Ollie races clear but once again a timely challenge from the defence denies him.jpg

Click for large image

9_Danny_H_flicks_it_on......jpg

9 Danny H flicks it on......jpg

Click for large image

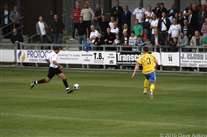
10_...Lee_B_tries_to_connect_the_the_defender_s_boot_gets_there_first.jpg

10 ...Lee B tries to connect the the defender's boot gets there first.jpg

Click for large image

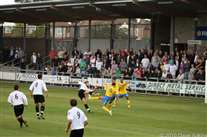
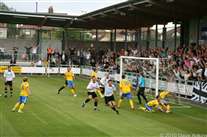
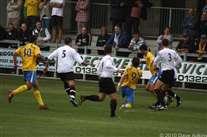
11_Michael_Shinn_hits_the_loose_ball_goalward.....jpg

11 Michael Shinn hits the loose ball goalward.....jpg

Click for large image

12_...which_the_keeper_does_well_to_push_wide.jpg

12 ...which the keeper does well to push wide.jpg

Click for large image

13_James_White_jumps_for_the_corner.....jpg

13 James White jumps for the corner.....jpg

Click for large image

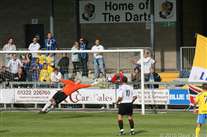
14_...but_the_keeper_gets_his_punch_in_first.jpg

14 ...but the keeper gets his punch in first.jpg

Click for large image

15_Tom_Bonner_heads_clear.jpg

15 Tom Bonner heads clear.jpg

Click for large image

16_Billy_B_has_his_work_cut_out_with_3_defenders_around_him.jpg

16 Billy B has his work cut out with 3 defenders around him.jpg

Click for large image

17_The_keeper_grabs_the_ball_high_to_deny_Lee_B_a_chance.jpg

17 The keeper grabs the ball high to deny Lee B a chance.jpg

Click for large image

18_Tom_B_and_Joe_Bruce_use_their_bodies_to_take_the_power_off_the_ball......jpg

18 Tom B and Joe Bruce use their bodies to take the power off the ball......jpg

Click for large image

19_Billy_B_winds_up_for_a_long_throw....jpg

19 Billy B winds up for a long throw....jpg

Click for large image

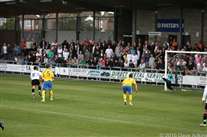
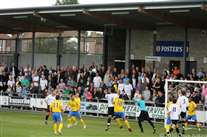
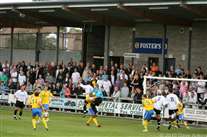
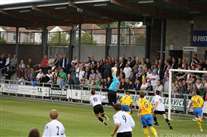
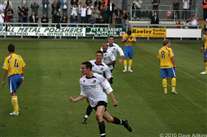
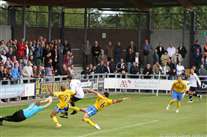
20_...Danny_H_meets_the_ball_and_it_s_in_the_back_of_the_net_1-0_Darts.jpg

20 ...Danny H meets the ball and it's in the back of the net 1-0 Darts.jpg

Click for large image

21_Formation_celebration.jpg

21 Formation celebration.jpg

Click for large image

22_The_ball_s_chipped_into_the_area.......jpg

22 The ball's chipped into the area.......jpg

Click for large image

23_...the_Havant_no6_gets_his_head_to_the_ball_before_Joe_B_can_get_there.....jpg

23 ...the Havant no6 gets his head to the ball before Joe B can get there.....jpg

Click for large image

24_..but_Andy_Young_has_it_covered.jpg

24 ..but Andy Young has it covered.jpg

Click for large image

25_Lee_Burns.jpg

25 Lee Burns.jpg

Click for large image

26_MIchael_Shinn_heads_clear.jpg

26 MIchael Shinn heads clear.jpg

Click for large image

27_The_Havant_penalty_is_on_it_s_way......jpg

27 The Havant penalty is on it's way......jpg

Click for large image

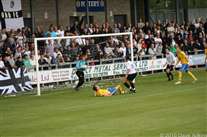
28_....Andy_guesses_right_but_cannot_get_a_hand_to_it_1-1.jpg

28 ....Andy guesses right but cannot get a hand to it 1-1.jpg

Click for large image

29_The_H_W_player_tries_a_back_header....jpg

29 The H&W player tries a back header....jpg

Click for large image

30_...but_Andy_s_there_to_shepherd_it_wide.jpg

30 ...but Andy's there to shepherd it wide.jpg

Click for large image

31_Danny_H_tries_his_luck_under_considerable_pressure.jpg

31 Danny H tries his luck under considerable pressure.jpg

Click for large image

32_Andy_Young_was_kept_busy.jpg

32 Andy Young was kept busy.jpg

Click for large image

33_Handbags......jpg

33 Handbags......jpg

Click for large image

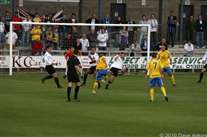
34_The_Havant_no9_gets_the_ball_goalward.....jpg

34 The Havant no9 gets the ball goalward.....jpg

Click for large image

35_...forcing_a_good_save_from_Andy_Young.jpg

35 ...forcing a good save from Andy Young.jpg

Click for large image

36_Danny_Harris.jpg

36 Danny Harris.jpg

Click for large image

37_Paul_Goodace_gets_to_the_ball_first....jpg

37 Paul Goodace gets to the ball first....jpg

Click for large image

38_...Lee_Burns_gets_to_it_but_cannot_get_any_power.....jpg

38 ...Lee Burns gets to it but cannot get any power.....jpg

Click for large image

39_...and_the_keeper_catches_easily.jpg

39 ...and the keeper catches easily.jpg

Click for large image

40_THE_electronic_Board.jpg

40 THE electronic Board.jpg

Click for large image

41_Andy_Young_sees_the_ball_late......jpg

41 Andy Young sees the ball late......jpg

Click for large image

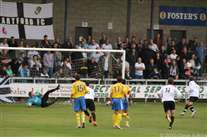
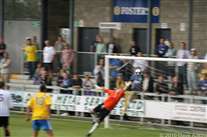
42_....but_still_manages_to_pull_off_a_superb_save.jpg

42 ....but still manages to pull off a superb save.jpg

Click for large image

43_Lee_Burns_unusually_misses_the_target.jpg

43 Lee Burns unusually misses the target.jpg

Click for large image

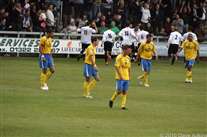
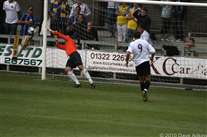
44_Andy_is_beaten_by_a_ball_at_speed_2-1_Havant.jpg

44 Andy is beaten by a ball at speed 2-1 Havant.jpg

Click for large image

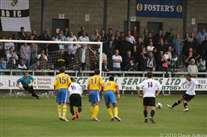
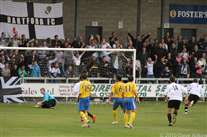
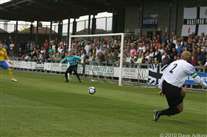
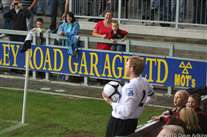
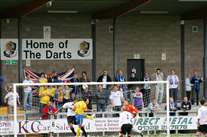
45_Ryan_Hayes_strikes_the_last_minute_penalty......jpg

45 Ryan Hayes strikes the last minute penalty......jpg

Click for large image

46_...the_keeper_goes_the_wrong_way_......jpg

46 ...the keeper goes the wrong way ......jpg

Click for large image

47_...and_the_ball_goes_in_the_net_2-2.jpg

47 ...and the ball goes in the net 2-2.jpg

Click for large image

48_Yessssss_get_in_there.jpg

48 Yessssss get in there.jpg

Click for large image

49_Team.jpg

49 Team.jpg