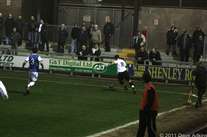
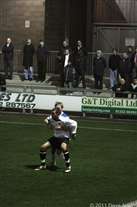
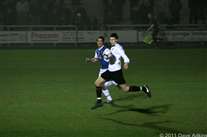
5_the_defender_gets_to_the_ball_before_Charlie.jpg
5 the defender gets to the ball before Charlie.jpg
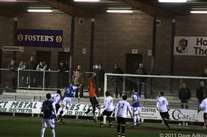
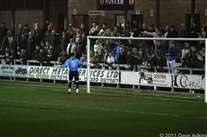
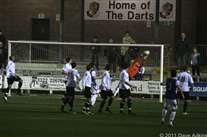
7_Andy_is_called_in_to_action_and_tips_the_ball_over_the_bar.jpg
7 Andy is called in to action and tips the ball over the bar.jpg
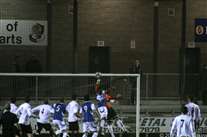
8_the_Eastleigh_player_gats_above_the_defence_to_head_the_ball......jpg
8 the Eastleigh player gats above the defence to head the ball......jpg
9_...but_it_lacks_power_and_direction__Andy_collects_comfortably.jpg
9 ...but it lacks power and direction, Andy collects comfortably.jpg
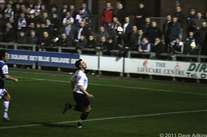
10_Elliot_and_Charlie_go_for_the_same_ball__but_it_goes_behind.jpg
10 Elliot and Charlie go for the same ball, but it goes behind.jpg
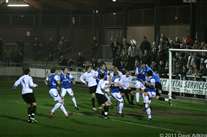
12_The_Easleigh_defender_and_keeper_combine_to_get_the_ball_clear.jpg
12 The Easleigh defender and keeper combine to get the ball clear.jpg
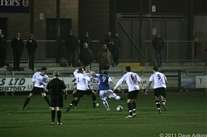
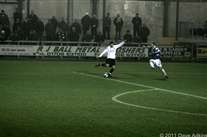
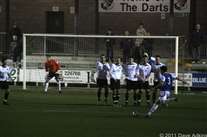
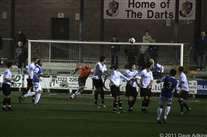
13_The_Easleigh_player_somehow_manages_to_get_a_shot_off_despite_the_attention_of_5_Darts.....jpg
13 The Easleigh player somehow manages to get a shot off despite the attention of 5 Darts.....jpg
15_A_study_of_concentration_as_Lee_waits_for_the_ball_to_drop.jpg
15 A study of concentration as Lee waits for the ball to drop.jpg
16_Charlie_shoots_from_the_edge_of_the_Area.....jpg
16 Charlie shoots from the edge of the Area.....jpg
20_the_low_ball_across_the_area_evades_both_Charlie_and_Elliot__when_just_a_touch_would_ve_put_it_in.jpg
20 the low ball across the area evades both Charlie and Elliot, when just a touch would've put it in.jpg
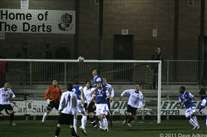
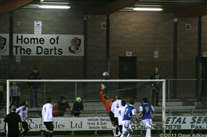
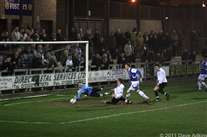
21_A_crowded_are_and_it_s_an_Eastleigh_boot_that_gets_the_ball__but_Andy_once_again_is_down_to_save.jpg
21 A crowded are and it's an Eastleigh boot that gets the ball, but Andy once again is down to save.jpg
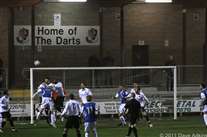
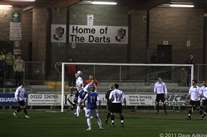
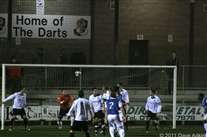
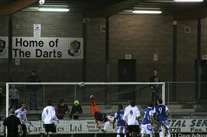
22_A_freekick_in_a_dangerous_area__the_wall_s_lined_up.....jpg
22 A freekick in a dangerous area, the wall's lined up.....jpg
23_....the_ball_is_hit_over_the_wall_towards_the_top_right_hand_corner......jpg
23 ....the ball is hit over the wall towards the top right hand corner......jpg
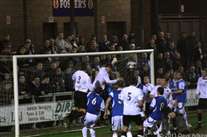
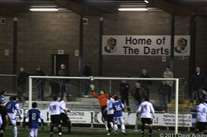
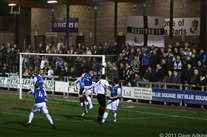
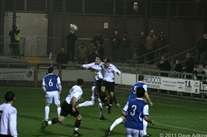
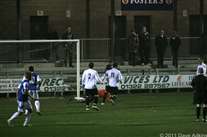
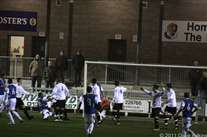
26_Late_in_the_game_and_the_Darts_press_for_a_goal.jpg
26 Late in the game and the Darts press for a goal.jpg