Click for large image

1_The_ball_is_fed_through......jpg

1 The ball is fed through......jpg

Click for large image

2_...the_Staines_player_gets_to_it......jpg

2 ...the Staines player gets to it......jpg

Click for large image

3_...and_Andy_is_beaten_1-0_Staines.jpg

3 ...and Andy is beaten 1-0 Staines.jpg

Click for large image

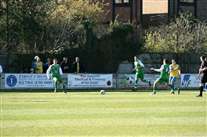
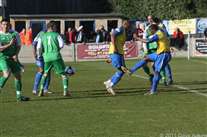
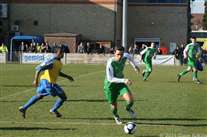
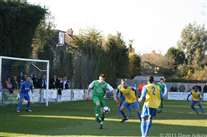
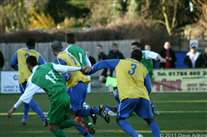
4_A_Staines_boot_cuts_the_ball_out_as_Lee_s_about_to_shoot.jpg

4 A Staines boot cuts the ball out as Lee's about to shoot.jpg

Click for large image

5_The_Staines_defender_clears.jpg

5 The Staines defender clears.jpg

Click for large image

6_Ryan_causes_a__problem.jpg

6 Ryan causes a problem.jpg

Click for large image

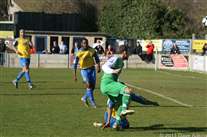
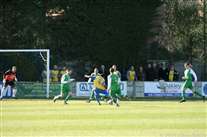
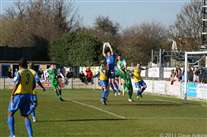
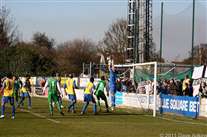
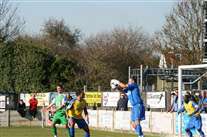
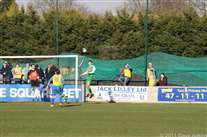
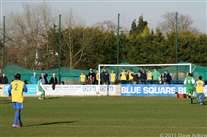
7_The_Keeper_catches_the_ball_as_Paul_jumps_behind_him.jpg

7 The Keeper catches the ball as Paul jumps behind him.jpg

Click for large image

8_Charlie_Sheringham.jpg

8 Charlie Sheringham.jpg

Click for large image

9_Lee_Burns_turns_the_defender.jpg

9 Lee Burns turns the defender.jpg

Click for large image

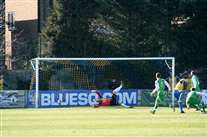
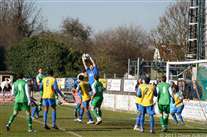
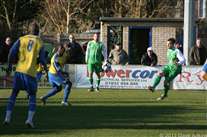
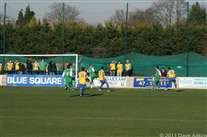
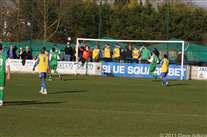
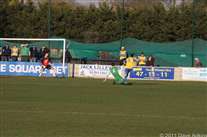
10_The_keeper_catches_this_time_before_Jon_Main_can_get_to_it.jpg

10 The keeper catches this time before Jon Main can get to it.jpg

Click for large image

11_Charlie_heads_on_Ryan_s_free_kick......jpg

11 Charlie heads on Ryan's free kick......jpg

Click for large image

12_...but_it_s_just_wide.jpg

12 ...but it's just wide.jpg

Click for large image

13_Jon_Main.jpg

13 Jon Main.jpg

Click for large image

14_Lee_heads_the_ball_in....jpg

14 Lee heads the ball in....jpg

Click for large image

15_.....but_it_s_too_high_for_Charlie.jpg

15 .....but it's too high for Charlie.jpg

Click for large image

16_Tony_Burman.jpg

16 Tony Burman.jpg

Click for large image

17_Tom_Champion.jpg

17 Tom Champion.jpg

Click for large image

18_Matt_Jones_heads_it_out.jpg

18 Matt Jones heads it out.jpg

Click for large image

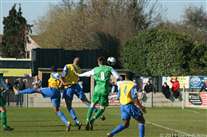
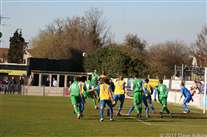
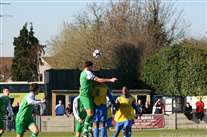
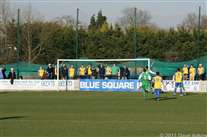
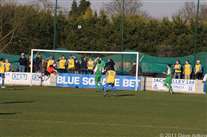
19_Paul_Goodacre_gets_above_the_defender_to_meet_the_ball.......jpg

19 Paul Goodacre gets above the defender to meet the ball.......jpg

Click for large image

20_...but_it_s_an_easy_take_for_the_keeper.jpg

20 ...but it's an easy take for the keeper.jpg

Click for large image

21_Matt_Jones_crosses_the_ball.jpg

21 Matt Jones crosses the ball.jpg

Click for large image

22_Tom_Bonner.jpg

22 Tom Bonner.jpg

Click for large image

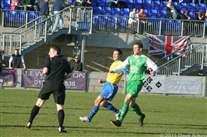
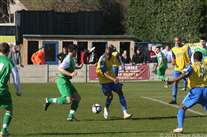
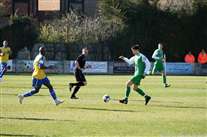
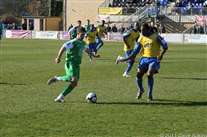
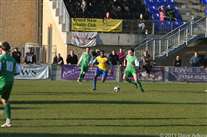
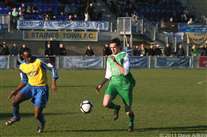
23_Lee_controls_the_ball_but_cannot_get_room_to_turn.jpg

23 Lee controls the ball but cannot get room to turn.jpg

Click for large image

24_Charlie_on_defensive_duties.jpg

24 Charlie on defensive duties.jpg

Click for large image

25_The_Staines_player_shoots.......jpg

25 The Staines player shoots.......jpg

Click for large image

26....but_Andy_gets_a_hand_to_it......jpg

26....but Andy gets a hand to it......jpg

Click for large image

27_...just_enough_to_force_it_wide.jpg

27 ...just enough to force it wide.jpg

Click for large image

28_Andy_leaps_into_action......jpg

28 Andy leaps into action......jpg

Click for large image

29_.....and_forces_it_over_the_bar.jpg

29 .....and forces it over the bar.jpg

Click for large image

30_Danny_brings_it_forward.jpg

30 Danny brings it forward.jpg

Click for large image

31_Adam_has_his_hand_held.jpg

31 Adam has his hand held.jpg

Click for large image

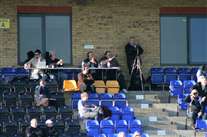
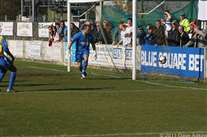
32_The_Radio_Kent_commentary_team_kept_Sony_company.jpg

32 The Radio Kent commentary team kept Sony company.jpg

Click for large image

33_The_shot_comes_in......jpg

33 The shot comes in......jpg

Click for large image

34_...forcing_another_great_save_from_Andy.jpg

34 ...forcing another great save from Andy.jpg

Click for large image

35_Danny_Harris.jpg

35 Danny Harris.jpg

Click for large image

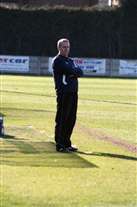
36_I_m_not_saying_it_was_a_bad_game_but.......jpg

36 I'm not saying it was a bad game but.......jpg